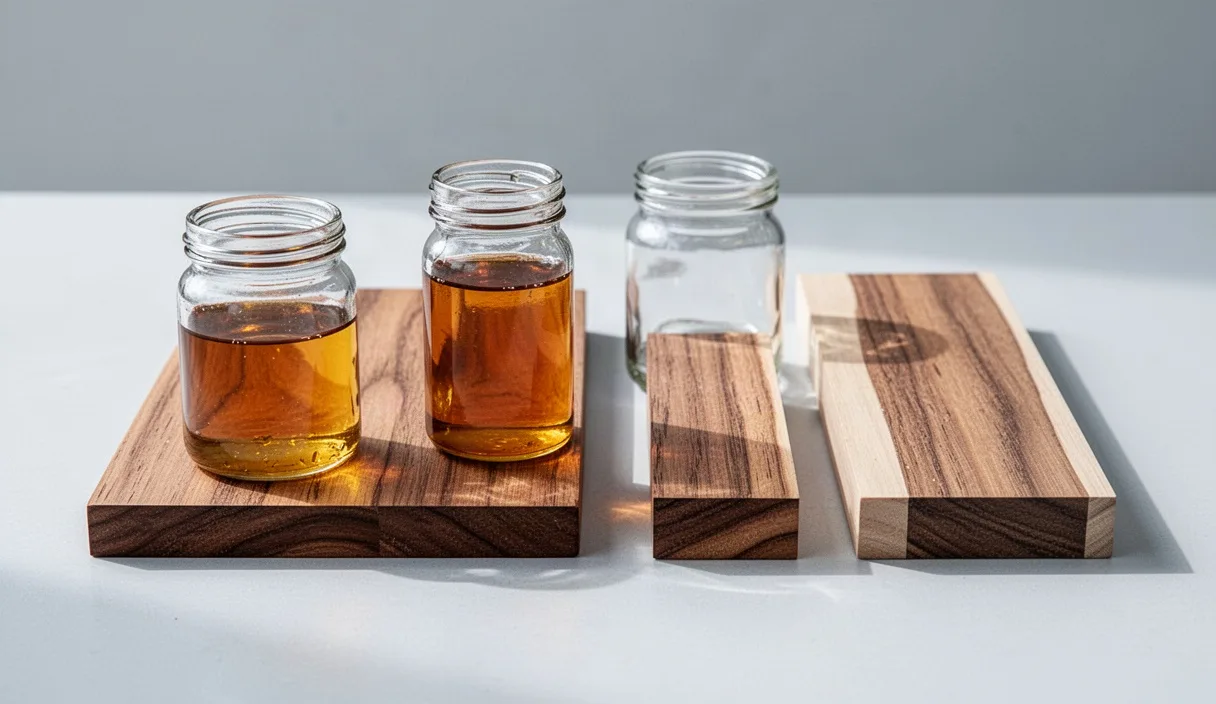

A wooden spoon that spends years stirring stews and scraping pan bottoms becomes one of the most personal tools in a kitchen. Over time, however, the rich amber color fades into a dull, chalky gray. The surface, once as smooth as river stone, starts to feel prickly against your fingers. This change is not a sign that the timber is ruined, but rather that the wood cells have lost their protective barrier against water, heat, and soap.
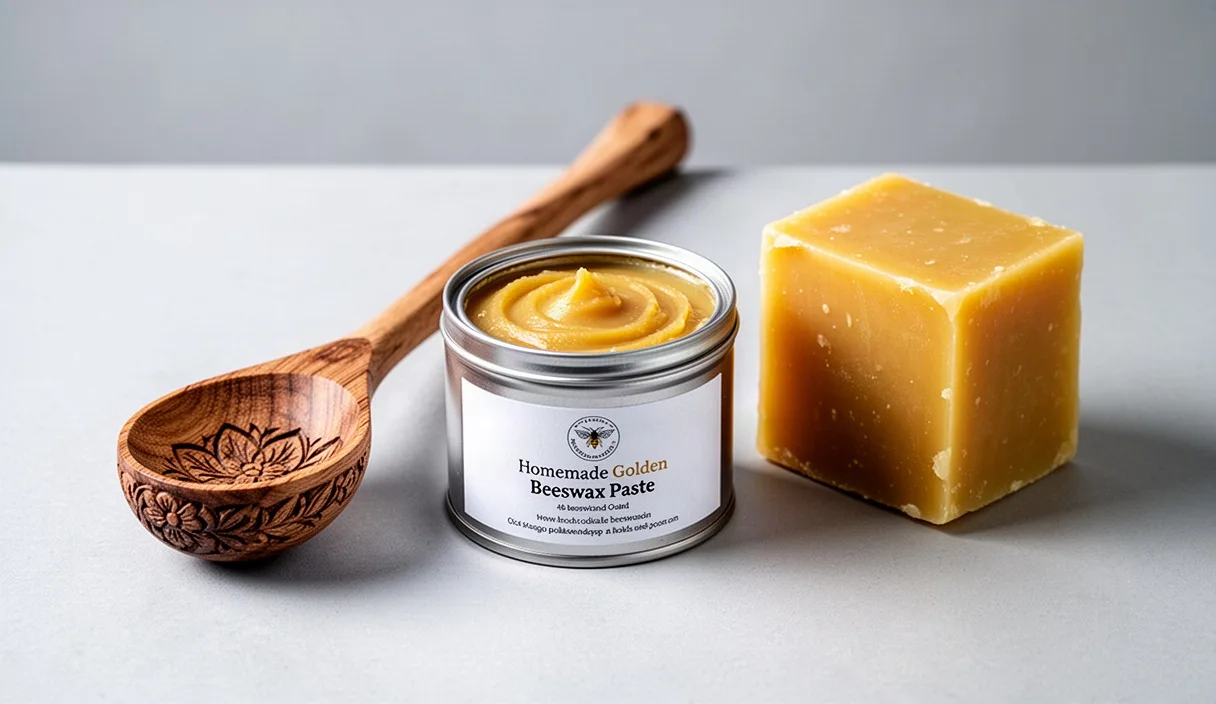
Making a batch of homemade wood polish restores that missing moisture and seals the grain against future washings. By combining raw beeswax with food-grade mineral oil, you create a food-safe salve that melts deep into the porous grain and leaves behind a tough, water-repellent barrier. Preparing this finish at home takes less than forty minutes, requires only basic kitchen gear, and lets you tailor the firmness of the wax to suit spoons, cutting boards, rolling pins, and turned salad bowls.
Why wooden spoons dry out and develop rough fibers after washing
Why does wood change texture so dramatically after a few cycles through the kitchen sink? Wood is essentially a bundle of parallel tubes, called tracheids and vessels, that once transported sap through the living tree. Even after the timber is felled, dried, shaped, and sanded, these microscopic straw-like structures remain open to the air. When you wash a wooden utensil in hot water, those dry cell walls absorb the liquid and swell like a bundle of dry sponges.
Commercial dish soaps are formulated to dissolve animal fats and vegetable oils from dinner plates. Unfortunately, soap makes no distinction between cooking grease and the natural moisture inside wood pores. Each wash strips away the hydrophobic oils that keep the cellulose fibers pliable. As the water evaporates out of the saturated wood, the outer cells shrink faster than the wet interior. This uneven drying creates mechanical tension, pulling the individual wood fibers apart at the cut ends. The result is "grain raising," which creates that distinct fuzzy, splintery texture on the handle and the rim of the bowl.
Left unconditioned, this cycle of swelling and shrinking leads to structural failure. Small surface checks develop into deep splits that trap food particles and bacteria. By filling the empty capillary tubes with a stable oil and capping them with wax, you prevent water from penetrating the internal framework of the wood. The utensil stays dimensionally stable, repels surface moisture, and remains smooth to the touch across months of daily kitchen duty.
Selecting raw beeswax and food-safe mineral oil
The success of your wood butter depends directly on the purity of the two starting ingredients. What should you look for when shopping for beeswax? You will generally find two types on the market: yellow beeswax, which comes straight from the hive cappings with its natural honey scent and propolis intact, and white beeswax, which has been pressure-filtered or bleached. For kitchen utensils, lightly filtered yellow cappings wax is the ideal choice. It retains trace elements of natural propolis, a resinous mixture honeybees produce that adds mild antimicrobial properties to the final finish.
Beeswax is available in solid blocks or pre-poured pastilles. While solid blocks are often slightly cheaper per ounce, small pastilles or pellets melt far more evenly and do not require you to shave hard wax with a kitchen knife. If you buy a solid brick, use an old serrated bread knife or a cheese grater to break it down into nickel-sized chunks before melting. Large solid chunks take four times longer to liquefy, which increases the risk of overheating the batch.
The liquid component requires equal care. You must use United States Pharmacopeia (USP) grade white mineral oil, sometimes sold in pharmacies as liquid paraffin. This oil is fully refined, chemically inert, non-drying, and clear. Unlike vegetable oils such as canola, olive, corn, or walnut, mineral oil contains no organic fatty acids. It cannot spoil, oxidize, or turn rancid over time. Plant oils left inside cutting boards or spoon fibers eventually break down, releasing an unpleasant sour smell and sticky residue that can taint delicate foods.
Melting ratios for soft paste versus firm block wax
How do you decide how much oil to blend into your wax? The proportion of mineral oil to beeswax dictates the consistency, workability, and protective thickness of your finish. A high-oil blend creates a loose, creamy paste that spreads easily with a rag at room temperature. A low-oil blend yields a firm, buttery puck that requires vigorous friction to transfer onto the timber, but leaves behind a significantly thicker moisture barrier.
| Finish Style | Oil-to-Wax Ratio | Texture at Room Temperature | Best Kitchen Application |
|---|---|---|---|
| Soft Paste (Spoon Butter) | 4 parts oil to 1 part wax | Mayonnaise or soft pomade | Deeply dried spoons, quick maintenance, salad bowls |
| Medium Balm (Board Butter) | 3 parts oil to 1 part wax | Cold butter or shoe polish | End-grain chopping blocks, rolling pins, heavy spatulas |
| Firm Sealer (Block Wax) | 2 parts oil to 1 part wax | Firm lip balm or candle wax | Outdoor prep stations, bread boards, heavy water exposure |
For everyday spoon care, a four-to-one ratio measured by weight delivers the best balance. For example, eighty grams of USP mineral oil blended with twenty grams of raw beeswax pellets produces roughly three and a half fluid ounces of conditioner. This consistency lets the mineral oil wick deep into dry timber, carrying dissolved micro-particles of wax into the cell cavities. As the mixture sits, the oil stays in the wood while the wax solidifies inside the grain, plugging the pores from within.
If you prefer measuring by volume rather than using a kitchen scale, keep in mind that beeswax pastilles contain a large amount of empty air between the pellets. One cup of loose wax pellets weighs substantially less than one cup of liquid mineral oil. If you measure with cups, use three parts liquid oil to one packed cup of wax pellets to achieve a texture similar to the four-to-one weight ratio.
Safe double-boiler melting methods on the stove
Beeswax begins to soften at around 140 degrees Fahrenheit and liquefies completely between 144 and 147 degrees Fahrenheit. Its flash point, the temperature at which its vapors can ignite when exposed to a spark or flame, sits between 400 and 490 degrees Fahrenheit. Because wax can scorch, discolor, and become an intense fire hazard when placed directly over a burner, you must never melt beeswax in a saucepan directly on an electric element or gas flame. Always use a gentle, indirect heat source.
- Assemble the water bath: Place a wide skillet or medium saucepan on the stove. Fill the bottom with about one to two inches of tap water. Place a clean, wide-mouth glass canning jar or a clean stainless steel can directly into the center of the pan. The water should rise about halfway up the outside of your melting container without causing it to float or tip over.
- Add the ingredients: Place your weighed beeswax pellets and food-safe mineral oil directly into the dry glass jar. Putting both ingredients in together helps the wax dissolve at a slightly lower overall temperature than melting dry wax alone.
- Warm slowly: Turn your burner to medium-low. Allow the water in the saucepan to come to a gentle, quiet simmer. Do not let the water boil vigorously, as bouncing bubbles can tip the jar or splash water droplets into your molten mixture. Water inside the jar will cause the finished butter to cloud and separate over time.
- Stir continuously: Use a clean wooden skewer or an untreated wood dowel to stir the melting wax into the oil. As the pellets shrink, the liquid will turn a uniform, golden-yellow hue. Once the last flake of wax disappears, leave the mixture in the warm water for two extra minutes to ensure uniform temperature throughout the jar.
- Cool and set: Using heat-resistant silicone oven mitts, carefully lift the hot jar out of the water bath and set it down on a folded cloth or wooden cutting board. Setting a hot glass jar directly on cold granite or stainless steel countertops can trigger thermal shock, cracking the glass. Leave the jar undisturbed at room temperature for roughly three hours. As it cools, the mixture will shift from clear gold to an opaque, creamy yellow paste.
Application, curing wait times, and buffing to a soft sheen
Before applying the finish, the wood must be completely clean and bone dry. If you apply wax over damp wood, you trap moisture inside the grain, which encourages mold growth beneath the wax coat. Wash the utensil with warm water, wipe it down, and let it air-dry in a dish rack for a full twenty-four hours. If the wood grain raised significantly during its last washing, lightly rub the dry spoon with 320-grit or 400-grit sandpaper along the direction of the grain to knock down the prickly whiskers. Wipe away all fine sanding dust with a dry cloth.
Scoop a marble-sized dollop of the wax paste onto a clean, lint-free cotton rag, such as an old piece of cotton jersey or a clean shop cloth. Rub the paste firmly into the wood, working in small circular motions. Apply steady friction: the warmth generated by your hands helps liquefy the paste slightly, pushing it deep into the vessel openings. Be generous around end-grain areas, such as the very tip of the spoon bowl and the base of the handle, because end grain drinks oil much faster than face grain. Continue until the entire utensil has a wet, gleaming appearance with a light excess of wax remaining on the surface.
How long should the paste sit before buffing? Wood absorbs oil slowly. Let the coated utensil rest on an open drying rack or an old wire baking sheet for twelve to twenty-four hours. During this resting phase, the liquid mineral oil migrates deeper toward the core of the timber, while the ambient room air cools and firms the surface wax. If the spoon looks dry and patchy after four hours, the wood was severely dehydrated; apply a second light coat and allow it to rest overnight.
Once the curing period passes, take a clean, dry piece of rough cloth, like coarse denim or cotton canvas, and buff the utensil vigorously. The goal of buffing is not to leave a thick layer of wax behind, but to strip away all surface stickiness while smoothing the micro-crystalline structure of the wax that remains trapped in the outer pores. You will feel the drag on the cloth suddenly give way to a silky glide. When finished, the wood should feel completely dry to the bare hand, showing a quiet, satin glow rather than a glossy plastic film.
Common mistakes when conditioning kitchen wood
- Using culinary oils from the pantry: Olive oil, vegetable shortening, flaxseed oil, and walnut oil eventually turn sour inside the wood grain. Always confirm your oil is labeled pure food-grade mineral oil or USP white oil.
- Applying paste to wet spoons: Trapping residual water beneath a layer of beeswax creates an ideal environment for mold and dark mildew stains inside the timber pores.
- Leaving an unbuffed surface: Skipping the final buffing leaves a sticky film that attracts dust, flour, and dried spices during cooking. Polish until the timber feels dry and slick.
- Washing in an automatic dishwasher: The intense heat, extended moisture exposure, and harsh detergents in a dishwasher will leach out the wax treatment in a single cycle, warping and cracking the spoon.
Practical next steps for kitchen timber care
Now that your wax paste is poured and set, store the jar in a cool, dark kitchen cabinet with the lid screwed down tightly. A single four-ounce jar will easily care for an entire collection of spoons, turners, and cutting boards for over two years. The paste has an indefinite shelf life as long as you keep moisture and food crumbs out of the container.
Build a simple monthly inspection habit. Run your thumb across your primary cooking spoons after they dry. If the timber looks silvery-white or feels dry and chalky, grab the jar and rub in a maintenance coat. For everyday cleaning between waxings, simply scrub your utensils with warm water, mild soap, and a soft sponge, then wipe them dry with a kitchen towel immediately. With this simple combination of natural beeswax and clean mineral oil, fine wooden utensils can easily survive decades of daily cooking.