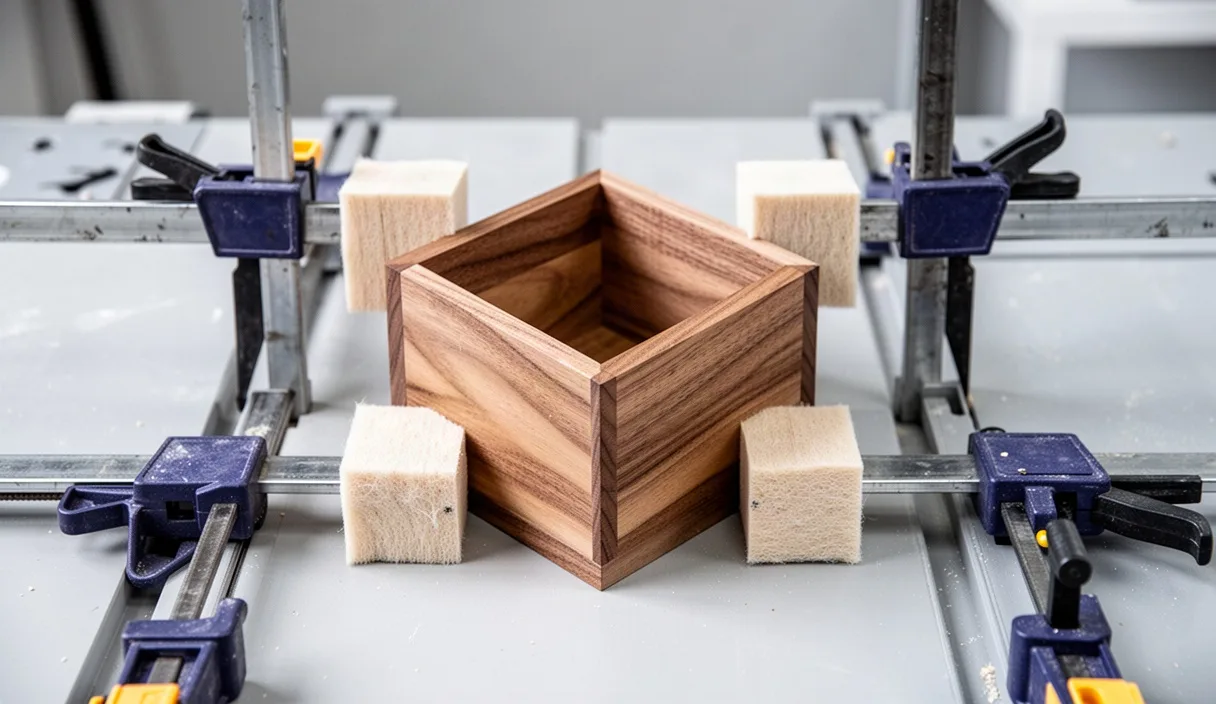
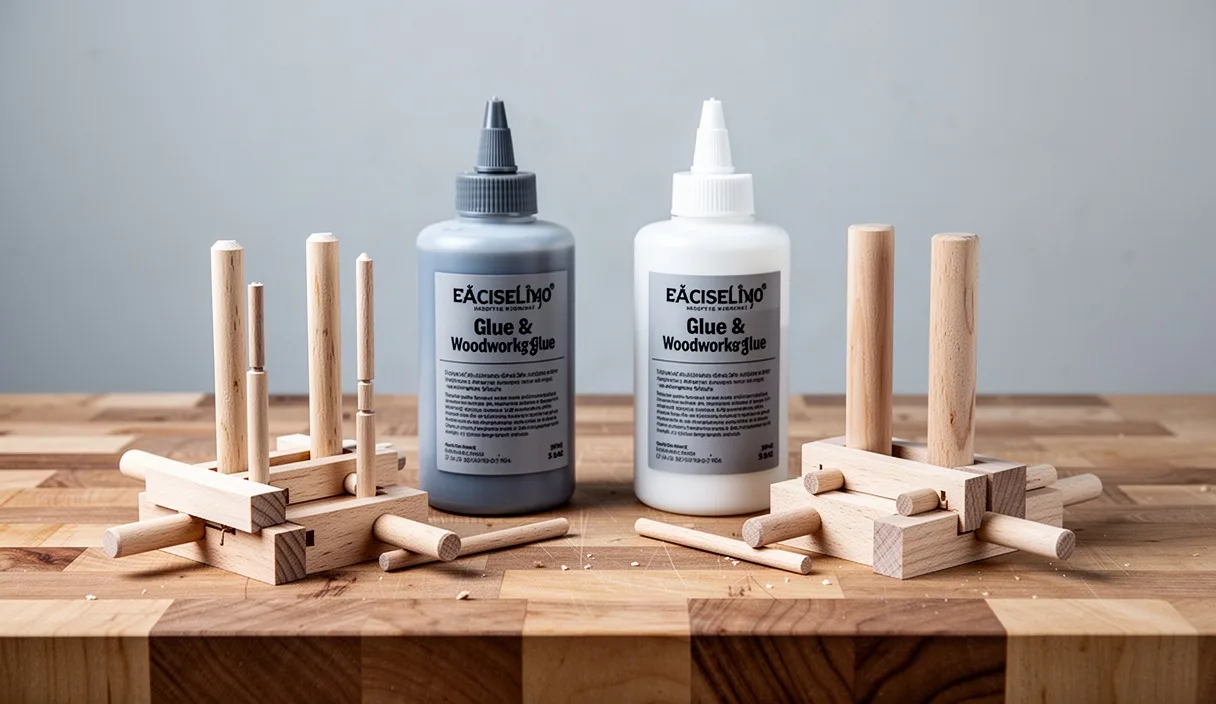

Every woodworker eventually stands over an open assembly on the workbench with two different bottles in hand. In one hand is white or yellow polyvinyl acetate glue, known to most people simply as PVA. In the other is liquid hide glue, derived from processed animal connective tissue. For smaller projects like jewelry boxes, picture frames, decorative wall brackets, and clock cases, the choice between these two adhesives changes how you work, how long you have to arrange your pieces, and how you finish the surface.
Why does the type of adhesive matter so much on an object that only measures a few inches across? Small projects often feature thin components, intricate joinery, and visible surfaces where every single joint sits right beneath the eye of anyone looking at it. Choosing the right bottle determines whether you spend your afternoon rushing against a five-minute clock or calmly adjusting miter corners until they sit flush. Looking closely at how both substances interact with wood helps remove the guesswork from your bench work.
How PVA glue forms a bond between porous surfaces
PVA stands for polyvinyl acetate, which is a synthetic polymer suspended in water. When you spread this milky liquid across a freshly cut piece of timber, the wood acts like a dense bundle of tiny paper drinking straws. The water carries the flexible plastic chains deep into these microscopic cellular tubes, known as tracheids or vessels. As the moisture leaves the adhesive and evaporates into the surrounding air or travels deeper into the wood fibers, those dispersed polymer molecules draw closer together. They tangle up and harden, creating a dense mechanical lock between the two wooden faces.
How strong is this mechanical lock once cured? In most domestic hardwoods like cherry, walnut, and hard maple, the cured PVA film exhibits a shear strength ranging between 3,600 and 4,000 pounds per square inch at room temperature. Because this plastic matrix locks into the wood cells so thoroughly, testing a sound PVA joint to destruction almost always causes the wood fibers alongside the glue line to rip apart before the adhesive film itself snaps. The glue line is literally tougher than the surrounding grain.
This high strength comes with specific working traits. Standard yellow PVA glue, often labeled as carpenter glue, has an open assembly time of roughly five to ten minutes at 70 degrees Fahrenheit. Open time refers to the window between spreading the adhesive and bringing the parts into permanent contact. If you exceed this window, the surface forms a skin, preventing the polymer chains from merging across the joint line. Clamping pressure must be applied promptly, typically requiring 30 to 60 minutes in clamps before you can handle the component safely.
Standard PVA also exhibits a property called plastic creep under continuous load. Because it is fundamentally an elastic thermoplastic, sustained mechanical stress or elevated seasonal heat can cause the glue line to stretch by microscopic amounts over many years. For a small picture frame hanging quietly on a living room wall, creep is rarely a practical concern. For a tightly tuned instrument neck or an intricate joint under dynamic spring tension, that slow stretching can lead to visible joint misalignment over decades.
Why hide glue allows extended assembly and alignment time
Hide glue takes an entirely different chemical approach to bonding timber. Made from collagen, a natural protein extracted from animal hides, it forms a bond that is both rigid and molecularly reactive. Liquid hide glue sold in modern bottles contains added urea, an organic compound that keeps the protein liquid at standard room temperature. Traditional hot hide glue, by contrast, must be heated in an electric pot to roughly 140 degrees Fahrenheit and applied while steaming, giving an artisan only a minute or two before it gels upon cooling.
Why would a maker choose liquid hide glue over PVA for a small project? The primary reason is assembly time. Liquid hide glue provides an open time of roughly 20 to 30 minutes, and a total closed assembly time that can reach up to 45 minutes before clamping. Closed assembly time is the period after mating the parts but before applying final clamping pressure. If you are fitting an eight-sided box with compound miters, or lowering a complex set of internal dividers into a drawer, PVA will often seize before every tongue sits fully in its groove. Liquid hide glue lets you tap joints home, adjust angles with a small square, and re-position parts without breaking an early molecular bond.
Hide glue also features a unique physical property called tack. As the water begins to leave the protein mixture, it becomes sticky and resists sliding apart, even before clamps apply pressure. This property allows woodworkers to execute a rubbed joint on small components. If you are gluing a corner block into a small frame, you can spread liquid hide glue, press the block into the corner, and rub it back and forth three or four times. The suction created by the atmospheric pressure and the adhesive tack will hold the block firmly in place without a single clamp.
| Adhesive Feature | Standard Yellow PVA Glue | Liquid Hide Glue |
|---|---|---|
| Base Material | Synthetic polyvinyl acetate polymer | Natural collagen protein with urea |
| Open Time at 70°F | 5 to 10 minutes | 20 to 30 minutes |
| Closed Assembly Time | 10 to 15 minutes | 30 to 45 minutes |
| Bond Line Rigidity | Flexible; subject to slight long-term creep | Glass-like and brittle; zero creep |
| Reversibility | Irreversible without destroying wood | Fully reversible with heat and moisture |
Clean-up differences: water wiping versus chisel scraping
Squeeze-out is inevitable when you clamp small wooden assemblies together. Squeeze-out describes the small beads of excess adhesive pressed out of the joint under clamping pressure. How you handle these beads determines whether your final piece looks clean or carries unsightly blemishes. The two adhesives demand completely opposite clean-up strategies.
When working with PVA, the instinctive reaction is to take a wet rag and wipe the joint clean immediately. This is usually a mistake. Wet wiping dilutes the liquid PVA, turning a controlled bead of glue into a thin, invisible slurry. Capillary action pulls this watery glue deep into the surrounding wood grain. Once dry, that buried plastic acts as an impenetrable plug inside the pores, preventing stain or oil from entering. The proper approach for PVA is patience:
- Wait roughly 20 to 25 minutes after clamping until the squeeze-out reaches a rubbery, gel-like state.
- Take a sharp, flat chisel or a dedicated glue scraper held bevel-down.
- Gently slide the edge along the wood surface to peel the rubbery bead away in one clean ribbon.
- Allow the joint to dry fully for four hours before doing any final sanding or scraping.
Hide glue behaves far more forgivingly during clean-up. Because collagen dissolves naturally in warm water, you can clean wet squeeze-out right away without damaging your final finish. Dip a stiff-bristled brush or a cotton rag into warm water, wring it out until damp, and scrub the interior corner of the joint. The water breaks down the protein chain immediately rather than spreading an oily film. Even if you let liquid hide glue dry completely hard into glassy beads, you can place a damp, warm cloth over the joint for three minutes. The dried hide glue will soften back into a jelly that wipes off the timber without tearing wood fibers.
Stain absorption risks with dried glue residue
Finishing a small project highlights the biggest visual difference between synthetic and protein glues. Wood stains, whether oil-based or water-based, depend on porous cells soaking up pigment and dye. When a liquid stain meets dry, bare wood, the open cellular tubes absorb it like a sponge, darkening the surface evenly. If there is a patch of dried PVA glue clinging to that surface, the stain cannot reach the grain beneath it.
PVA creates a synthetic plastic seal over the wood pores. Even microscopic smears that you cannot see with the naked eye will block stain penetration entirely. When you brush a dark walnut or amber stain over the project, those glue spots reveal themselves as bright, pale patches that look like white scars across your joinery. Sanding them away after staining requires cutting down through the stained wood into bare timber again, which often creates an uneven, patchy surface that is difficult to blend.
Does hide glue avoid this staining issue? Yes, to a remarkable degree. Because hide glue is made of natural protein, its chemical structure is porous and hydrophilic, meaning it readily attracts and absorbs water molecules. When you apply a water-based dye, a liquid pigment stain, or a traditional alcohol-based spirit finish like shellac, the dried hide glue residue absorbs the colorant right alongside the wood fibers. While heavy globs will still show as glossy bumps, minor surface smearing from hide glue rarely leaves the pale, unstained halos that make PVA so frustrating for fine decorative work.
Choosing between permanent joints and repairable construction
Making a joint permanent sounds like a worthy goal, but permanence is not always an advantage in fine woodwork. Consider musical instruments, antique clock cases, and delicate boxes. Wood expands and contracts across its width as atmospheric humidity rises in summer and drops in winter. If an assembly cannot move, or if an internal joint takes an accidental impact from a fall off a table, wood will eventually crack somewhere along its weakest plane.
PVA glue forms an essentially permanent bond. Once the polymer chains lock together and cross-link within the timber cells, they cannot be dissolved by water, alcohol, or mild heat. If you need to disassemble a small jewelry box glued with PVA to replace a split panel, your only option is to saw the joint apart or split it with a chisel, destroying original wood in the process. PVA is ideal for items that will never need restoration, such as shop jigs, utility cabinets, and small outdoor planters where waterproof performance matters most.
Hide glue, on the other hand, offers total reversibility. Because collagen bonds break down when subjected to temperatures above 145 degrees Fahrenheit combined with moisture, an artisan can take a joint apart fifty years after it was assembled without removing a single splinter of wood. Introducing a small amount of warm water and directed heat, such as steam from an iron or a specialized syringe, softens the glue back into a liquid state, allowing the parts to slide apart cleanly.
Furthermore, hide glue sticks to itself. If you attempt to re-glue a failed joint that was originally assembled with PVA, you must scrape or sand away every trace of old, cured plastic. New PVA will not bond to old PVA; it only bonds to raw wood fiber. Hide glue, by contrast, possesses a unique chemical affinity for older hide glue. The water in the fresh liquid hide glue re-liquifies the surface of the dry glue already in the wood pores, fusing the old and new layers into a single homogeneous bond. For heirlooms meant to be maintained over several generations, this self-repairing quality makes hide glue the superior candidate.
Common mistakes to avoid
Working with these two distinct adhesives requires recognizing their specific limits. Avoiding these regular missteps will protect your small joinery from unexpected failure:
- Over-tightening clamps on thin stock: Applying massive pressure squeezes all the glue out of the joint before it can cure. This creates a starved joint, which lacks enough adhesive to bridge the wood fibers. Small boxes need firm, even contact, not extreme force.
- Using expired liquid hide glue: The urea that keeps hide glue liquid at room temperature also degrades the protein over time. Liquid hide glue typically has a shelf life of roughly 18 to 24 months. If your bottle is past its stamped date code or smells sour, test a small bead on scrap; if it does not cure rock-hard within 24 hours, discard the bottle.
- Relying on liquid hide glue outdoors: Hide glue dissolves under moisture. Never use it on outdoor plant stands, birdhouses, or patio accessories where rain will soften the bond line. Use water-resistant exterior PVA for those items.
- Staining over uninspected PVA joints: Before applying any oil or stain to a PVA-glued project, wipe the entire surface down with mineral spirits. The wet mineral spirits will temporarily darken the wood, immediately showing any invisible glue smears as bright spots so you can scrape them away before the permanent finish goes on.
Practical steps for your next build
Before you begin your next small joinery project, examine the design requirements and finish plan to pick the right bottle from your shelf. Follow these steps during your glue-up process:
- Map the assembly complexity: Count the number of parts that must come together at the same time. If your project has more than four separate joints that need simultaneous alignment, choose liquid hide glue to give yourself an easy 30-minute working window.
- Check your finish selection: If you plan to finish the bare timber with an oil stain or a wipe-on dye, liquid hide glue reduces the risk of blotching along your internal corners. If you plan to use paint or a thick layer of clear polyurethane on utility items, PVA saves time.
- Dry-fit every single component: Assemble the entire project completely without any glue in the joints. Adjust clamp angles and set stops on your workbench so that you can close the assembly smoothly within your adhesive open-time window.
- Apply adhesive sparingly to both surfaces: Use a small, stiff artist brush to paint a thin, even coat of glue across both mating faces. Coating both sides ensures thorough wetting of the wood pores and prevents dry pockets inside the joint.
- Allow proper cure time: Keep PVA assemblies clamped for a minimum of 45 minutes, waiting four hours before light machine work. Keep liquid hide glue assemblies in their clamps for at least three to four hours, allowing a full 24 hours for the brittle protein matrix to reach maximum strength.