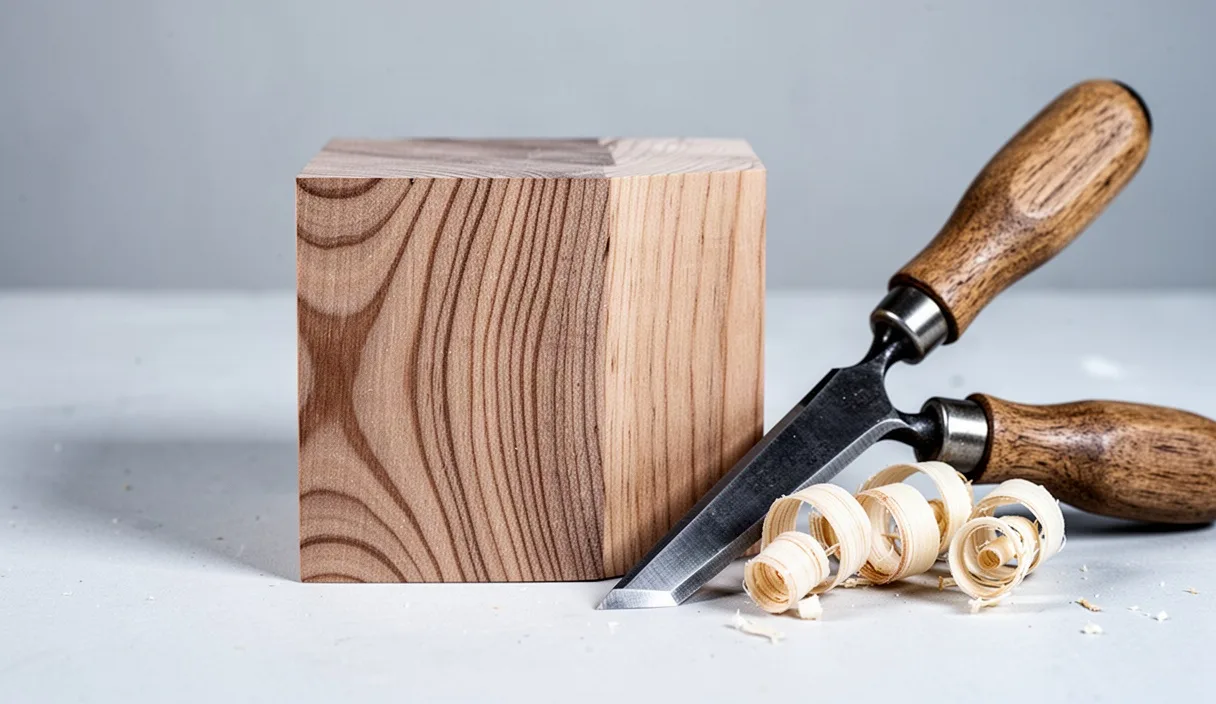

Have you ever run a sharp hand plane or a chisel across a fresh board, expecting a glass-smooth surface, only to watch the tool gouge deep, ragged craters into the timber? That frustrating defect is called tear-out. It happens not because your tool is dull, but because you are trying to cut the wood in a direction that forces its fibers to split ahead of the cutting edge instead of severing cleanly. Wood is not an artificial, uniform block of plastic. It is the preserved body of an organism that grew outward and upward over decades, leaving behind an internal grain pattern that dictates how every tool interacts with it.
Working with timber requires you to read this internal structure before you make a single pass with a blade, bit, or gouge. When you understand which way the grain runs, you can predict how the wood will react to pressure. Cutting in the right direction turns a stubborn, splintering board into a surface that polishes under your edge tool with minimal effort. Here is how to understand grain direction, how to read the visual signs on your lumber, and how to choose the right cut every time you step up to the workbench.
How wood grain resembles a bundle of drinking straws
Why does timber split so easily along its length, but resist being snapped across its width? Think of a piece of wood as a giant bundle of plastic drinking straws packed tightly together and glued side by side. In a living tree, these hollow tubes, called tracheids or vessels depending on the species, transport water and nutrients from the root system up into the canopy. The long walls of these tubes run parallel to the height of the tree trunk.
If you slice across the open tops of those drinking straws with a razor blade, you are cutting end grain. The hollow ends offer little resistance to split, but they can crumple or fray if your blade is dull. If you slide your knife along the length of the bundle, between the straws, you are cutting along the grain. The glue holding the straws together parts easily. But if your knife digs into the side of a straw and levers upward, the straw bends, crimps, and rips apart down its length. That rip is tear-out.
Because these fibers do not always run perfectly straight along a flat board, the open ends of the straws can angle slightly upward toward the surface. When a cutting tool hits those angled fibers from behind, it lifts them like a crowbar wedged under a row of floorboards. To get a clean surface, your tool must press those straws down against their neighbors while shearing them off, rather than lifting them up into the air.
Reading the cathedral patterns on lumber faces
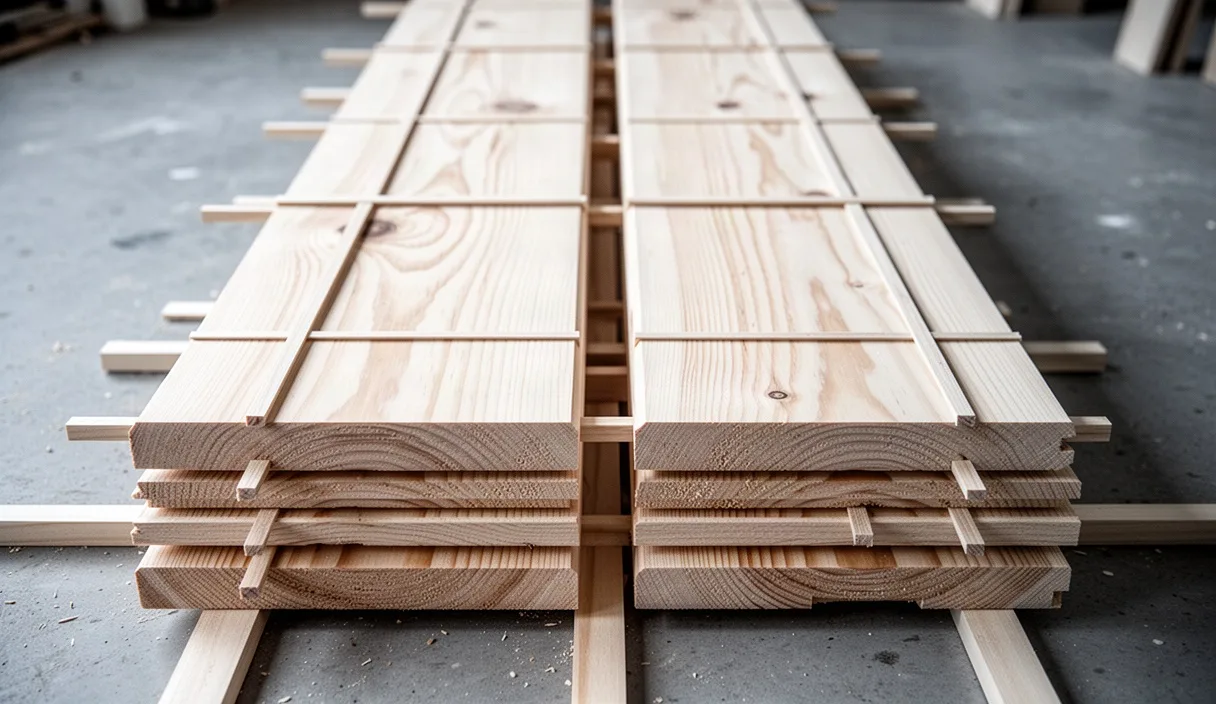
How can you tell which way those tiny fibers point just by looking at a flat board? The easiest clue appears on plain-sawn lumber, which is wood cut tangentially to the annual rings. On these boards, you will see flowing, arch-shaped markings often called cathedral patterns. These arches look like nested peaks or arrows pointing toward one end of the board.
These cathedrals are simply the growth rings of the tree exposed at a shallow angle by the saw blade at the mill. The tips of the cathedral arches almost always point toward the top, or canopy end, of the tree from which the board was milled. Because trees taper as they grow taller, the growth rings narrow toward the canopy. When the mill cuts a straight plane through a tapering cone, it produces these peaked shapes.
To use this visual map, observe the direction the peaks are pointing across the face of the board:
- Planing the face: When you plane or carve the wide surface displaying the cathedral peaks, push your tool in the direction the arches are pointing. In other words, follow the point of the arrow. This motion pushes the overlapping layers of wood down against the core rather than peeling them upward.
- Planing the adjacent edge: When you turn the board on its edge, the cathedral rule flips. The fibers that form the outer rings now slope toward the bark. You will generally need to cut in the opposite direction along the narrow edge compared to the wide face. Always confirm by inspecting the ray fleck or fine lines running along that edge.
The difference between cutting downhill and cutting uphill
Woodworkers frequently use the terms "downhill" and "uphill" to describe grain direction, but what do these terms mean when the board sitting on your bench is completely horizontal? The terms refer to the slope of the individual wood fibers relative to the surface of the board.
Imagine the surface of your board as a flat road, and the wood fibers inside it as straws emerging from the surface at a shallow angle of 5 or 10 degrees. If you run your hand along the board in the direction the fibers emerge, you are smoothing them down, like petting a dog from its head toward its tail. This is cutting downhill. If you run your tool against the angle of the fibers, your blade catches under the fiber ends, lifting and tearing them out before they can be severed. That is cutting uphill.
| Cutting Direction | Fiber Orientation | Action of the Blade | Resulting Surface |
|---|---|---|---|
| Downhill (With the grain) | Fibers angle downward, away from the tool's path | Pushes fibers down onto supporting wood below | Polished, clean, minimal or no tear-out |
| Uphill (Against the grain) | Fibers angle upward toward the tool's path | Lifts fibers upward, splitting them along cell walls | Rough, pitted, broken fibers and tear-out |
| Cross-grain | Fibers run 90 degrees perpendicular to the cut | Shears through hollow tubes without support | Prone to fraying unless supported by a backing board |
To determine if you are cutting downhill on an edge, look closely at the narrow face under raking light. Look for fine, dark lines running along the wood. If those lines exit the top surface toward the right, you must plane from left to right. If they dive down toward the bottom face as you move forward, you are moving in the safe, downhill direction.
Techniques for tackling unruly figure and knots
What should you do when a board refuses to pick a single direction? Highly figured woods such as curly maple, quilted ash, and crotch walnut contain grain that switches direction every few millimeters. Knots cause a similar problem because they are the hard, dense bases of branches that grew outward from the trunk, forcing all the surrounding trunk fibers to detour around them like river water rushing around a boulder.
When you encounter alternating grain or knot swirls, cutting in a single straight line will inevitably take you uphill on half of your strokes. To maintain control and avoid tearing out deep chunks, you need to alter your tool setup and technique:
- Increase the blade pitch: Standard hand planes seat the blade at a 45-degree angle. By swapping to a frog or bevel-up iron that creates a 50-degree or 55-degree cutting angle, the tool scrapes and shears the fibers instead of lifting them. This steeper angle dramatically reduces tear-out on interlocking grain.
- Close the mouth of the plane: Adjust the adjustable toe or frog on your plane so the gap between the cutting edge and the plane's sole is narrower than 1 mm. A tight mouth presses down firmly on the wood fibers mere fractions of a millimeter before the blade cuts them, preventing them from lifting.
- Skew your path across the cut: Holding your plane or chisel at a 20-degree or 30-degree angle to your stroke reduces the effective slicing resistance. The blade shears the fibers sideways rather than ramming into them head-on.
- Take whisper-thin shavings: Set your tool depth so low that it removes shavings with a thickness of roughly 0.03 mm. Thin shavings exert negligible lifting force on adjacent fibers, allowing you to traverse figured zones without ripping the timber.
Troubleshooting fuzzy cuts and tear-out on edge grain
Sometimes you cut in what appears to be the correct direction, yet the wood leaves behind a fuzzy, matte texture or tiny ragged hollows along the edge. Why does this happen? The causes usually come down to dull tool edges, improper chipbreaker settings, or moisture-weakened cell walls.
Fuzziness occurs when individual wood cells are pushed over rather than severed. This problem is especially common in softer woods like white pine, basswood, and butternut. If your tool edge has rounded over even slightly, it crushes the flexible cell walls instead of cleaving through them. The solution is simple: sharpen your tool until it shaves hair without pressure, finishing on a fine stone of 6000 grit or higher. For soft, spongy woods, a light misting of denatured alcohol or a 5-to-1 mixture of water and shellac can stiffen the surface fibers temporarily. Once dry, the stiffened fibers stand upright and cut crisply under a sharp blade.
If you get genuine tear-out on an edge despite cutting downhill, inspect your hand plane's chipbreaker. On a standard double-iron plane, the chipbreaker serves a mechanical purpose: it abruptly bends the shaving forward immediately after it leaves the wood surface, breaking its strength so it cannot pry open a crack ahead of the iron. If your chipbreaker is set 2 mm or 3 mm away from the blade edge, it cannot stop a crack from forming. Back the chipbreaker up to roughly 0.5 mm from the cutting edge for general work, or as close as 0.2 mm for challenging hardwoods. Ensure the leading edge of the chipbreaker sits dead-flat against the back of the blade; any gap will allow shavings to jam underneath, instantly choking the tool and marring the work.
Common mistakes when reading grain
One frequent mistake is relying entirely on the visual cathedral pattern while ignoring the edges of the board. Secondary wood operations, like resawing or heavy thickness planing, can alter the surface pattern so that the cathedral points appear misleading. Always double-check your read of the face by sighting along the adjacent narrow edge to confirm the actual slope of the grain lines.
Another error is attempting to cut through an end-grain edge from side to side in a single uninterrupted pass. When a chisel, plane, or router bit reaches the far corner of an end-grain surface, the final wood fibers have no neighboring fibers behind them for support. The tool pressure will blow out that unsupported corner, leaving an ugly missing chunk called spalling. To prevent this, bevel the far corner with a chisel before making the pass, clamp a sacrificial scrap block tightly against the exit side, or cut inward from both outer edges toward the center.
Rushing the cut through a knot is also a reliable way to damage both the project and your tools. Knot fibers are substantially harder than surrounding clear wood, and the grain direction twists 90 degrees directly adjacent to the knot. Approaching a knot with a fast, heavy cut risks fracturing the knot or gouging the clear wood right next to it. Ease your pressure, advance the tool slowly, and slice around the perimeter before leveling the knot itself.
Practical next steps for your next project
The next time you pull a rough board from your lumber rack, follow these steps before making your initial cuts:
- Examine the end grain first: Look at the growth rings on the ends of the board to see how the timber was oriented inside the log. Rings that curve across the thickness indicate a plain-sawn board, while rings running nearly vertical indicate quarter-sawn stock with straighter, more predictable grain.
- Trace the grain lines down the edges: Use a pencil to draw small directional arrows along the edges of the board showing the downhill path for your hand plane or router bit.
- Check the cathedral points on the face: Mark an arrow pointing in the direction of the cathedral tips to guide your surfacing passes.
- Take a test stroke with a sharp tool: Set your hand plane or spokeshave for a very light cut and take one gentle pass along your chosen direction. Listen to the sound: a clean, quiet whisper means you are cutting downhill with the grain; a rough, chattering crunch means you are cutting uphill and must reverse your direction immediately.
- Keep a dedicated card scraper near your bench: For areas around stubborn knots or wild curly figure where grain reverses unpredictably, put away the edge plane and switch to a card scraper. The scraper uses a tiny rolled burr that cuts cleanly in virtually any direction without tearing out fibers.